Option 1: Remove Background (local, free)
- Open the editor and drag your photo onto the canvas.
- Select the photo layer. In the Properties panel, click Remove Background.
- PhotoCraft finds the subject and hides the rest with a layer mask. A locked Background layer becomes a normal layer so it can hold transparency.
- To fix the edge, paint on the mask: black hides, white reveals. Or turn the mask into a selection and use Select and Mask for hair and fur.
- Export with Layer › Quick Export as PNG, or File › Export › Export As… with PNG or WebP to keep the transparency.
Because the cut-out is a mask, nothing is deleted. Disable the mask to bring the background back, or put a new background layer underneath.
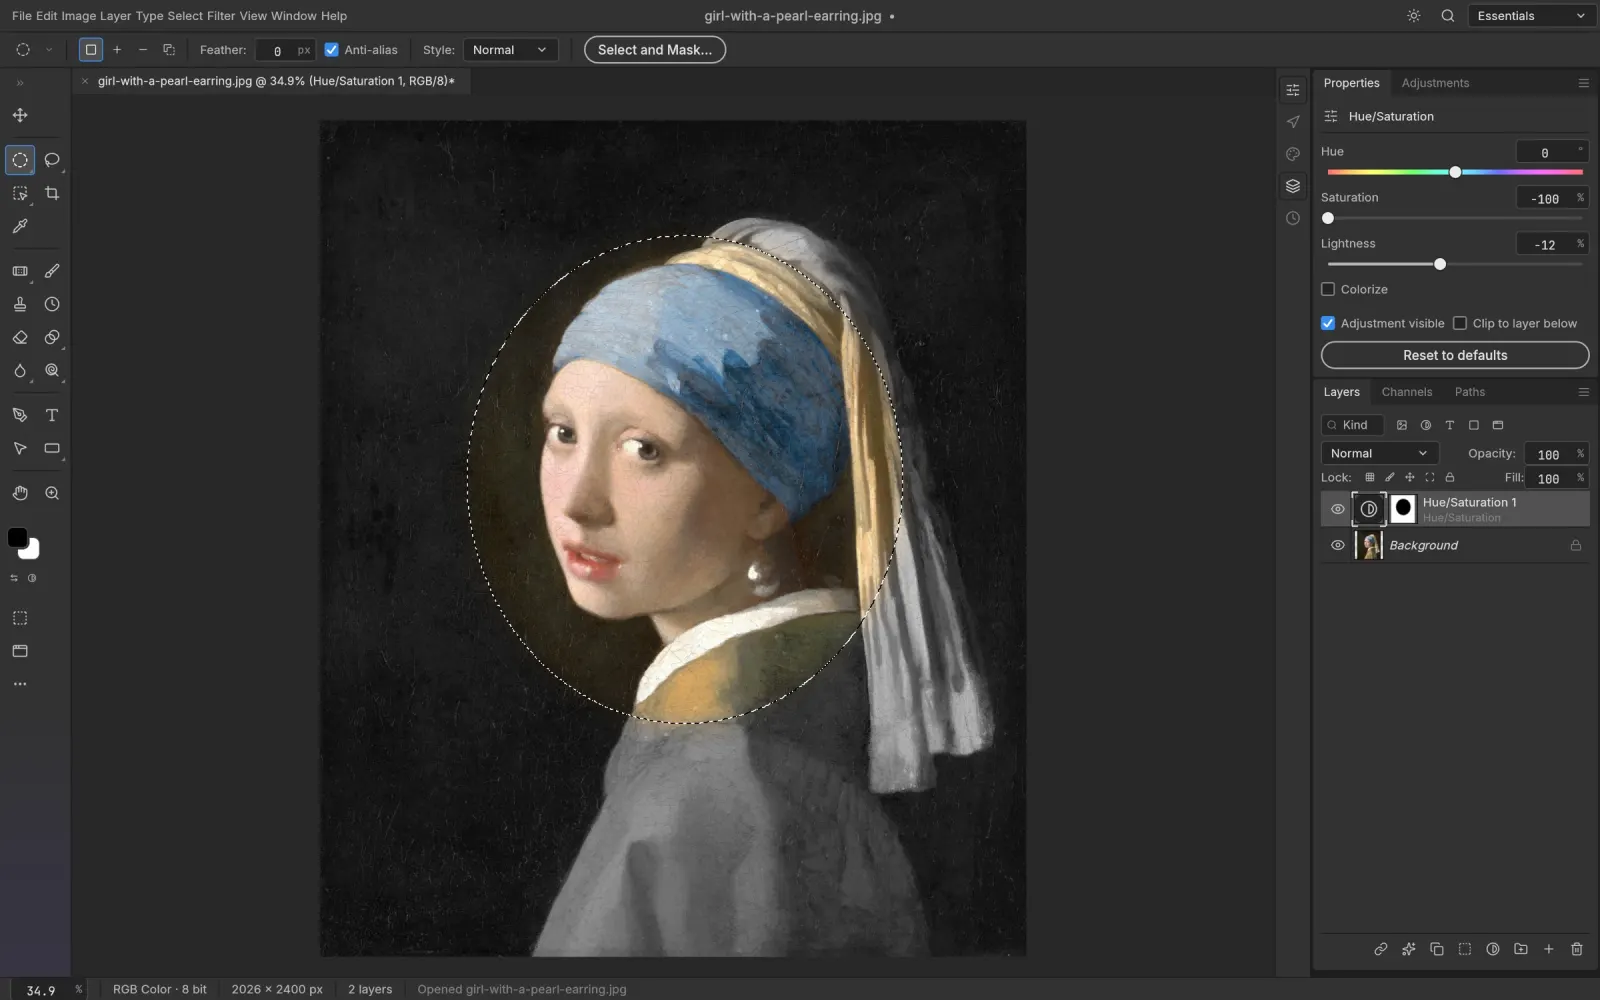
Option 2: Select Subject for more control
Select › Subject makes a selection of the main subject instead of masking straight away. Add to it or subtract from it with Quick Selection or the lassos, then add a layer mask from the selection. Use this when the photo has several people or objects and you want only one.
Option 3: AI on your own key
For busy scenes, glass, smoke or low contrast, an image model can do better. Open AI tools in the editor’s top bar, add an OpenAI, Gemini or OpenRouter key, then:
- Export the photo from PhotoCraft (Layer › Quick Export as PNG). It appears in the AI panel.
- Click the Remove background preset. With an OpenAI model and “Transparent background” ticked, you get a real transparent PNG; other models return the subject on white.
- Choose Open in PhotoCraft. To put the cut-out into another document, use Select › All and Edit › Copy, switch documents and Edit › Paste.
Your image goes from your browser to the provider you chose and is billed to your account. More on how the AI tools work.
Model-based edits redraw the image, so fine detail can change. For product photos where every pixel must stay, prefer the mask-based options above.